Why Load Placement in Your Pack Changes More Than Load Weight
Quick Answer: Where the weight sits in your pack determines how far it is from your centre of mass, and therefore how much torque it applies to your spine with every step. Weight held high and close to your back behaves almost like body weight; the same weight sitting low and away from your back creates a lever arm that pulls you backwards, which you compensate for by leaning forward - and that lean is what costs you your shoulders, neck, and lower back. Placement is a bigger variable than weight, and it is free to change.
Here is the physics, and how to load a pack against it.

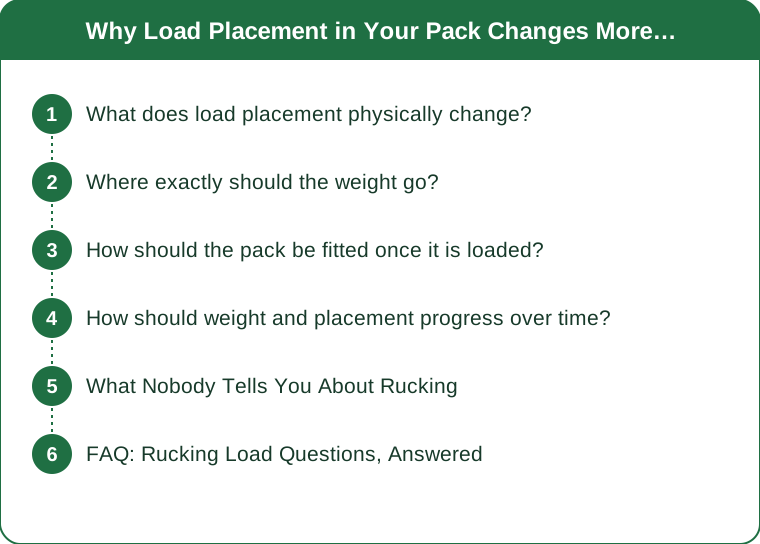
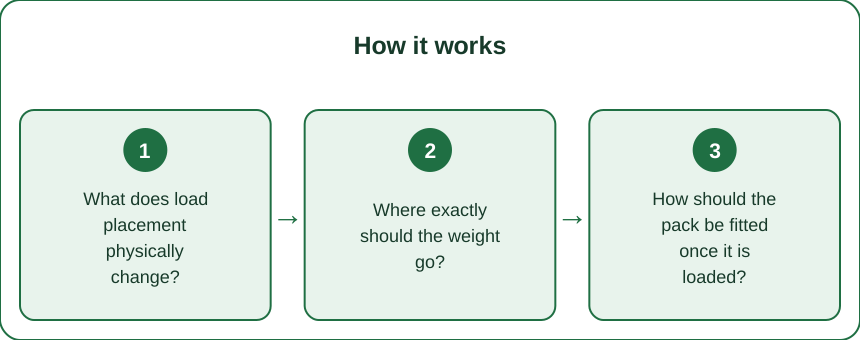
What does load placement physically change?
It changes the lever arm, and the lever arm changes everything downstream.
Weight away from your spine creates torque. A given mass held close to your body applies far less rotational force than the same mass held further away. Distance from your centre of mass is the multiplier, and in a pack that distance is set entirely by how you packed it.
Your body compensates for backward torque by leaning forward. This is automatic and you do not choose it. The forward lean shifts load onto the lumbar extensors and the upper back, which now work continuously for the duration of the ruck rather than intermittently.
Vertical placement changes the compensation too. Weight high on the back - roughly between the shoulder blades - sits closer to your natural centre of mass and requires less postural correction. Weight low, near the base of the pack, hangs below your centre of mass and pulls the pack away from your back at the top, which is precisely what digs the shoulder straps in.
Which explains the single most common ruck complaint. Shoulder pain in rucking is usually not a strap problem or a weight problem - it is a placement problem. A pack loaded low and away transfers its load through the shoulders because there is nothing else holding it against your back.
And it explains why the same weight feels different in different packs. A pack that holds load close and high with a proper frame and hip belt distributes to the hips; a soft bag with the same weight loose in the bottom transfers everything through the shoulders. Same number, entirely different demand.
Where exactly should the weight go?
There is a well-established answer for walking loads, and a specific one for rucking.
High and close to the back is the general rule for load carriage on flat and rolling terrain. Heaviest items between the shoulder blades, pressed against the back panel. This keeps the load near your centre of mass and minimises the torque you have to counteract.
Fill the space between the load and your back completely. Any gap lets the load shift and swing, and a swinging load applies varying force with every step - which is far more fatiguing than a constant one. Soft items packed behind and around the heavy items stop this.
Do not pack heavy items at the very bottom. This is the intuitive place to put them and it is the worst one for a walking load. Bottom-heavy packs pull backwards and downwards, and they are the classic cause of a pack that feels like it is trying to sit down behind you.
Slightly lower is better on technical or steep terrain. A very high load raises your centre of mass and reduces stability, which matters when balance is being tested. For a road ruck, high is right; for a rocky descent, lower and closer is safer.
Keep it centred side to side. Lateral imbalance produces one-sided compensation, and one-sided compensation is where most ruck-related aches originate. If one shoulder always hurts, check the packing before you blame the shoulder.
And use plate carriers or dedicated ruck plates if you are adding weight deliberately. They hold weight flat against the back at the right height by design. Loose sandbags or plates rattling in the bottom of a daypack are the worst possible version of the same weight, and it is what most people start with.
How should the pack be fitted once it is loaded?
Packing well and fitting badly gets you back to the same problem.
The hip belt carries the load, not the shoulders. On a pack with a proper belt, a large share of the weight should sit on your hips. The belt goes on the iliac crest - the top of the hip bones - not around the waist. Too high and it does nothing; too low and it restricts stride.
Tighten in the right order. Loosen everything, put the pack on, fasten and tighten the hip belt first with the load lifted onto your hips, then snug the shoulder straps, then the load lifters, then the sternum strap. Doing this in any other order leaves the weight on your shoulders regardless of how well you packed.
Load lifter straps should run at roughly 45 degrees from the top of the shoulder strap to the pack frame. They pull the top of the pack toward your body, which directly counteracts the lever arm - and they are the most under-used adjustment on any pack.
The sternum strap stops the shoulder straps splaying, and it should be snug rather than tight. Over-tightening it restricts breathing, which is a real cost over an hour of steady effort.
Re-check the fit at 15 minutes and again at an hour. Loads settle, straps loosen, and your posture changes as you warm up. The adjustment that was right at the trailhead is rarely right an hour in, and stopping to fix it is faster than finishing sore.
And alternate which strap carries more. Shifting the load slightly between hips and shoulders every twenty minutes or so varies the tissue under continuous load, which is more comfortable than perfect distribution held constant.

How should weight and placement progress over time?
Slower than feels necessary, and placement should be settled before weight rises.
Get the packing and fit right at a light weight first. Adding weight to a badly loaded pack scales the problem proportionally. Two or three rucks at a modest load with careful attention to placement teaches you what correct feels like, which you then cannot un-learn.
Increase weight in small steps - roughly 5 to 10% at a time, held for at least a couple of weeks. Rucking loads connective tissue, and tendon and bone adapt considerably more slowly than muscle does. The classic rucking injuries are overuse injuries from progressing weight faster than tissue can follow.
Increase distance and weight separately, never together. A heavier ruck and a longer route in the same week is the standard recipe for a foot, shin, or knee problem.
And expect the terrain to change the effective load. Hills, soft ground, and uneven surfaces all increase the demand at the same pack weight. Twenty pounds on a canal towpath and twenty pounds on a hill trail are different sessions, and treating them as equivalent is how people end up over-reaching.
Cooler weather changes the calculation too. More layers, more water, and a longer route are all more appealing as summer ends, and all three add weight at the same time your route gets more ambitious. This is worth noticing deliberately in the next few weeks rather than discovering it as a sore back.
One practical habit: weigh the pack rather than estimating it. People are consistently poor at estimating pack weight, and the difference between what you intended and what you carried is frequently 20% or more.
This is general information, not medical advice. If you have a back, hip, knee, or foot condition, or you develop pain rather than muscular fatigue while rucking, stop and speak to a healthcare professional - loaded carriage amplifies existing mechanical problems rather than working around them.
What Nobody Tells You About Rucking
Shoulder pain is almost never a shoulder problem. It is a placement and fit problem transferring load to the wrong structure. Padding the straps treats the symptom and leaves the lever arm exactly where it was.
A pack that feels fine for twenty minutes tells you nothing. Load carriage problems emerge between forty minutes and two hours, as tissue accumulates continuous load and small compensations become postures. Test new packing on a long walk, not a short one.
Your stride shortens under load automatically, and fighting it wastes energy. Shorter, more frequent steps are the efficient adaptation to carrying weight, particularly downhill.
Downhill is where rucking does its damage. The eccentric load on the quadriceps and knees is far higher going down than going up, and pack weight multiplies it. A route with a big descent is a harder session than its distance suggests.
Water is your most variable weight. A full bladder can be several pounds that disappear over the session. Packing it centrally and high means the balance changes least as you drink it.
And the one that surprises people: the most comfortable ruck you will ever carry is usually one where the pack feels almost like part of your torso - no swing, no gap, no sense of something hanging behind you. That sensation is the entire goal, and it comes from packing and fit rather than from a lighter load or a more expensive pack.
This is general information, not medical advice.
FAQ: Rucking Load Questions, Answered
Where should the heaviest items go in a ruck?
High and pressed against your back, roughly between the shoulder blades, with soft items filling any gap so nothing shifts. Slightly lower on steep or technical terrain for stability.
Why do my shoulders hurt when I ruck?
Usually because the load is sitting low and away from your back, so the shoulders are carrying what the hips should. Repack it high and close and refit the hip belt before changing anything else.
How much weight should a beginner start with?
Less than you think, and settled placement matters more than the number. Get the packing and fit right at a light load first, then progress roughly 5 to 10% at a time every couple of weeks.
In what order do I tighten the straps?
Hip belt first with the load lifted onto your hips, then shoulder straps, then load lifters, then sternum strap. Any other order leaves the weight on your shoulders.
Can I increase weight and distance at the same time?
Better not to. Changing one variable at a time is what keeps overuse injuries away, since connective tissue adapts much more slowly than muscle.
Does terrain change how much weight I should carry?
Significantly. Hills, soft ground, and uneven surfaces all raise the demand at the same pack weight, and descents are harder on the knees than the distance suggests.
TL;DR:
- Load placement sets the lever arm, and the lever arm decides how much torque your spine fights with every step.
- Weight high and pressed against your back behaves almost like body weight; weight low and away pulls you backwards and forces a compensating lean.
- Shoulder pain is a placement problem, not a strap problem - padding treats the symptom and leaves the physics untouched.
- Fill the gap between load and back completely - a swinging load applies varying force with every step.
- Tighten in order: hip belt first (load on hips), then shoulders, then load lifters, then sternum. Re-check at 15 minutes and at an hour.
- Progress weight 5 to 10% at a time, and never increase weight and distance in the same week.
- Weigh the pack rather than estimating - people are routinely 20% off.
The best ruck you will ever carry feels like part of your torso, not like something hanging behind you.
This is general information, not medical advice.
Keep Reading
This article is for general informational and styling purposes only. Fit, sizing, and product availability may vary.